You like the character in your first image. In the next, the face changes, the coat gains a new color, and the favorite bag disappears. Repeating “the same character” often leaves too much unspecified.
A stronger starting point is one approved image plus a short description of the features that make the character recognizable. Treat those as fixed, and describe each new scene separately. This improves your ability to direct and review a series, but it does not guarantee identical results.
Choose one version to use as the reference
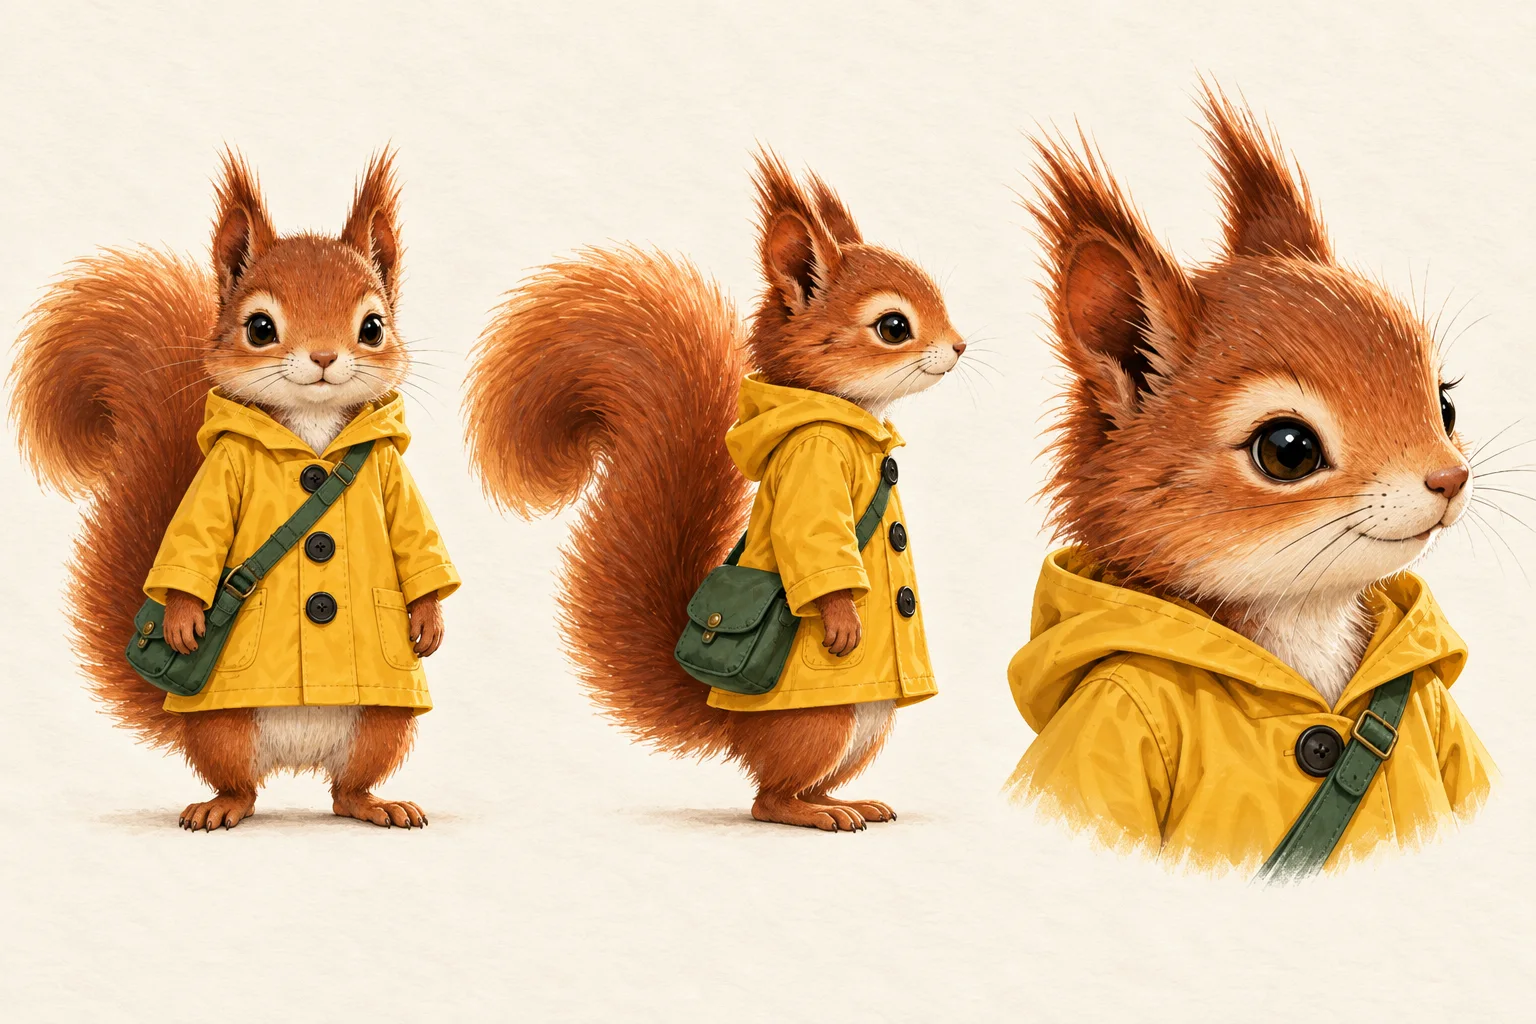
Start with a clear image where you can see the face, silhouette, clothing, and key accessories. Avoid choosing a reference where important features are hidden by dramatic shadows or a complicated pose.
Our example is an original squirrel botanist. The curled tail and mustard raincoat make it recognizable at a small size; the face and satchel provide details to check up close.
Save your chosen image separately from later experiments. If your generator accepts a character reference or supports editing with an attached image, use that image rather than relying on a text description alone.
Write a short identity description
Original red squirrel botanist with round dark eyes, small tufted ears, a cream muzzle, and a large curled russet tail. Mustard-yellow raincoat with three dark round buttons and a small forest-green rectangular crossbody satchel. Soft gouache illustration. No hat or glasses.
Choose details you can actually inspect. “Charming” is a mood, not an identifying feature. “Three dark buttons” is specific enough to reveal a mismatch. Do not make the design so intricate that you cannot tell whether it is consistent.
Separate the character from the scene
Reuse the identity description, then add an action and setting:
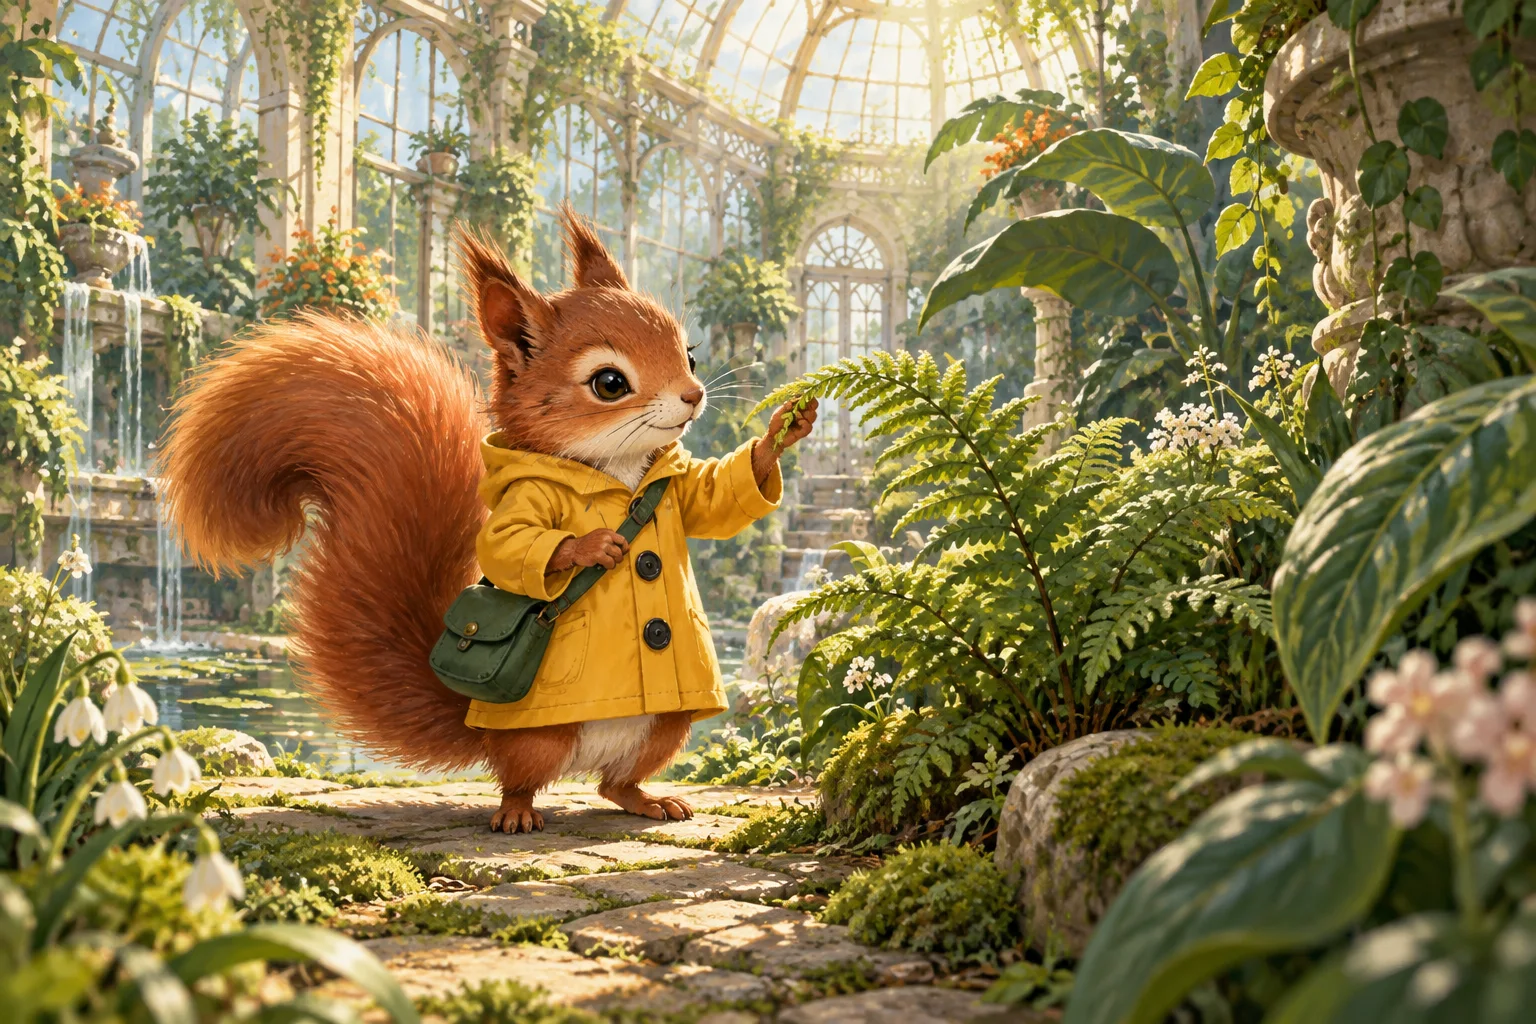
Use the attached image as the character reference. Keep the squirrel’s face, proportions, curled tail, mustard coat, three dark buttons, green satchel, and gouache treatment. Show the character standing on a mossy path inside a greenhouse, inspecting a fern. Soft daylight through the glass. Keep the full character visible.
For the next scene, change only the last part: “Show the character beside a terracotta pot, looking up at a tall sunflower.” Keep the reference image and identity description. Once that works, try a different pose or viewpoint.
You can vary more than one thing creatively, but changing one major feature at a time makes a failed attempt easier to diagnose.
Check the details in a sensible order
- Silhouette: body proportions, head size, and tail shape.
- Face: eye spacing, muzzle shape, and ear placement.
- Outfit: coat color, length, closures, and recurring accessories.
- Style: texture, line treatment, and level of detail.
- Scene: pose, expression, lighting, and background.
A color can look different under warm or cool light without the garment changing. Check whether the design is consistent before trying to force every pixel to match.
Fix drift without redesigning the whole image
| Problem | Revision to try |
|---|---|
| The face changed | Refer back to the approved portrait and name the changed feature |
| The bag disappeared | Restore the same green crossbody satchel; keep the pose and background |
| The outfit gained details | Return to the original simple coat and button count |
| The style became glossy | Restore matte gouache texture and the original level of detail |
If several features have drifted, start again from the approved reference rather than editing an increasingly different character. Save the image, prompt, and reference used for each version you keep.
Plan a series that works as a set
For several wall prints or gifts, choose a common shape and keep the character at a similar scale. Check the series as small thumbnails: do the pieces feel related before you zoom in?
A consistent face matters more than identical scenery. Give each image a reason to exist: discovering a seedling, sheltering from rain, or finding the first flower of spring. Use our reference-image guide for separating identity, composition, and style, and our lighting guide when a change of mood makes the character hard to recognize.
When you are ready to print
Choose a product and its options, then upload your finished image or create one in the design step. Review the placement and adjust the crop before ordering. Automatic AI upscaling and print preparation are included with every order. Start with your best original file; preparation can increase working resolution and improve apparent detail, but it cannot reliably repair severe blur, incorrect anatomy, or garbled text.
About these examples
PrintAIArt created these illustrations with AI to explain the choices in this guide. They are illustrative examples, not a controlled comparison of image generators or a promise of identical results from the suggested prompts. Ordering guidance was reviewed on September 30, 2026.